Total station search
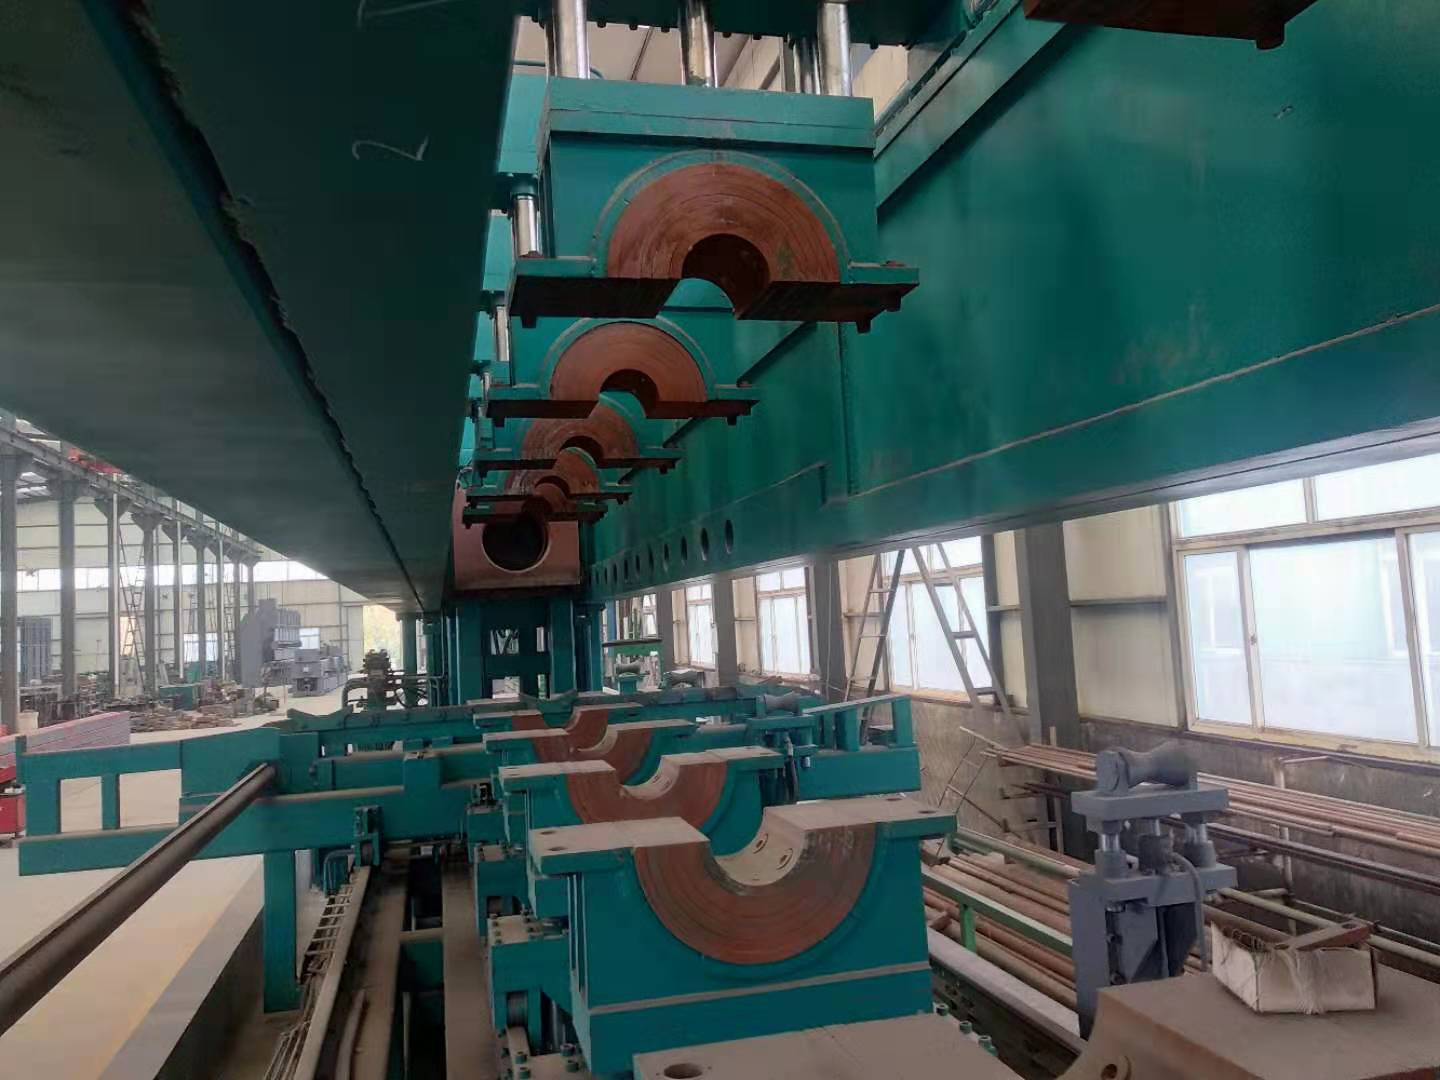
Hydraulic pressSteel tube hydrostatic testing machineSteel pipe hydraulic press
The hydraulic pressure testing machine is a spiral seam steel pipe with strip steel coils as the original data, often warm-kneaded and formed by active double-wire double-sided submerged arc welding.
(1) The original information includes strip coil, welding wire and flux. They must pass strict physical and chemical inspections before investing.
(2) The head and tail of the strip are butt-jointed, and single wire or double wire submerged arc welding is used. After coiling into a steel pipe, active submerged arc welding repair welding is used.
(3) Before forming, the strip should be straightened, trimmed, planed, cleaned, transported and pre-bent.
(4) The electric contact pressure gauge is used to control the pressure of the oil cylinder on both sides of the conveyor to ensure the smooth transportation of the strip.
(5) Use external control or internal control roll forming.
(6) Weld gap control equipment is used to ensure that the weld gap meets the welding requirements, and the pipe diameter, staggered amount and weld gap are strictly controlled.

(7) Both internal and external welding are performed by single- or double-wire submerged arc welding using the Lincoln welding machine in the United States, and then a stable welding quality is obtained.
(8) All welds that have been welded are checked by an online ultrasonic active wound detector to ensure 100% non-destructive testing coverage of spiral welds. If there are defects, take the initiative to alarm and spray the symbols, and the production workers can adjust the process parameters at any time to eliminate the defects in time.
(9) Use air plasma to cut the steel pipe into single pieces.
(10) After cutting into a single steel pipe, each batch of steel pipes must undergo a rigorous first inspection system to check the mechanical function, chemical composition, fusion status, appearance quality of the steel pipe, and non-destructive inspection to ensure that the pipe manufacturing process is qualified. After that, it was officially put into production.
(11) The parts with successive sonic flaw detection symbols on the weld are reviewed manually by ultrasonic and X-rays. If there are any defects, after repairing, pass the non-destructive inspection again until the confirmed defects have been eliminated.
(12) All spot pipes of steel butt welds and tee joints intersecting with spiral welds can be viewed on X-ray television or filming.
(13) Each steel pipe has passed the hydrostatic pressure test , and the radial seal is used for the pressure. The experimental pressure and time are strictly controlled by the steel tube hydraulic pressure testing equipment. The experimental parameters actively print records.
(14) The pipe end is machined to accurately control the straightness of the end face, the bevel angle and the blunt side.